Got
a property that you can't just get over the line?
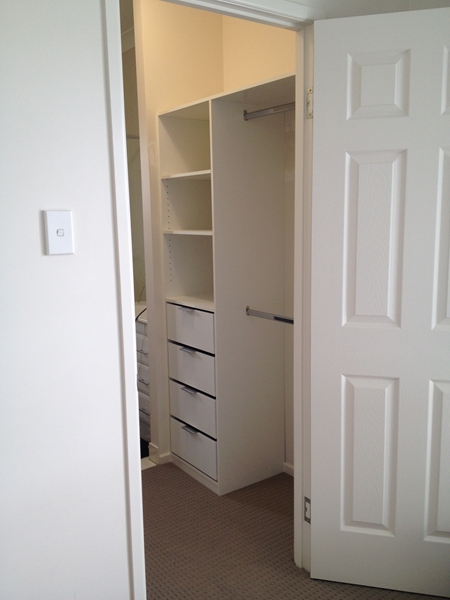
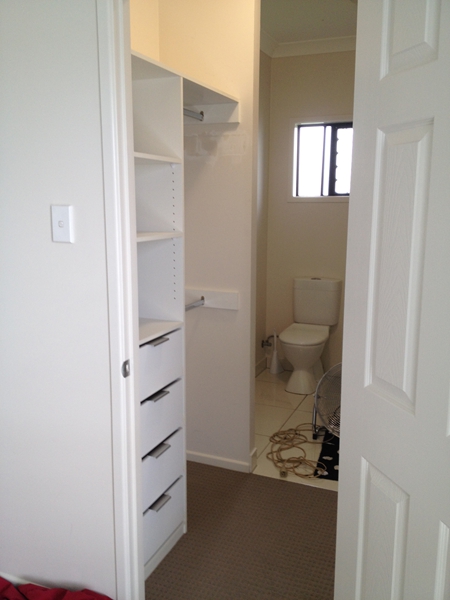
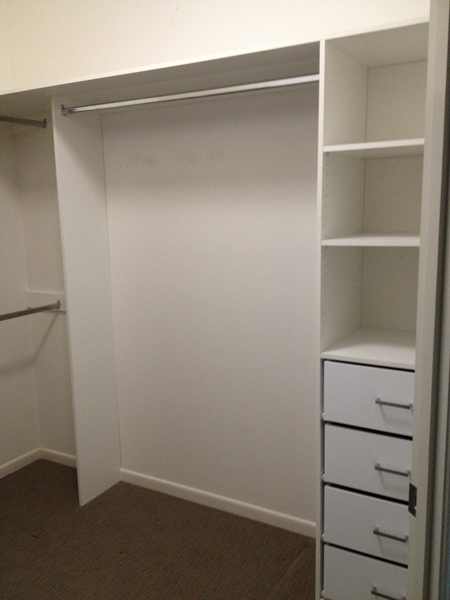
Built
In Wardrobes
could just make the difference.
We know from experience!
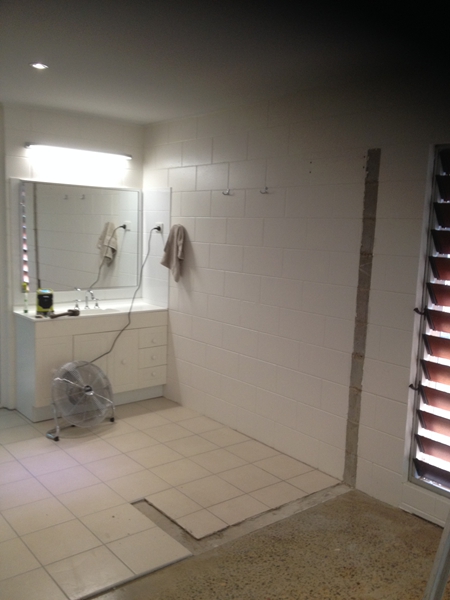
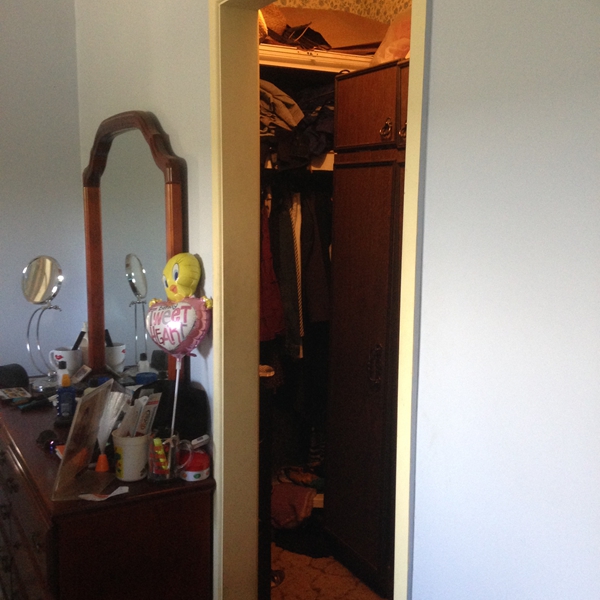
Struggling to rent your investment property?
Competing with other homes on the market
that already have built in robes?
Tenants expect built in robes today.
BBIW do a
lot of rental properties for this exact reason.
BBIW can help you get
your home rented.
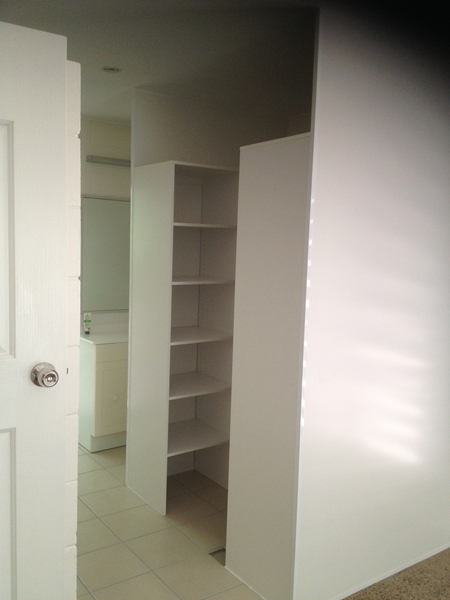
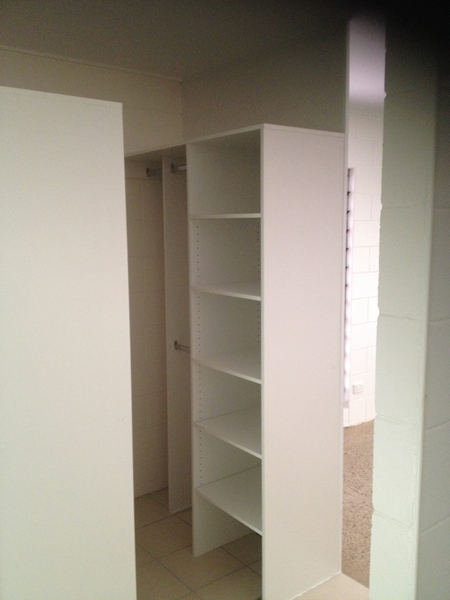
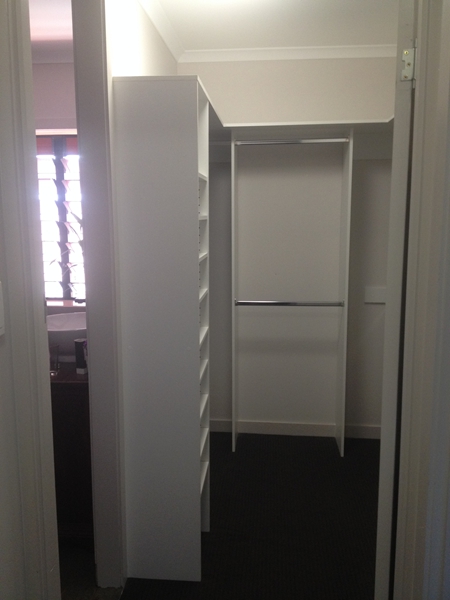
Read
about what materials we use and the general procedure we follow for
your built in robe.
See
the selection of colours we offer.
On
a budget? Check out these specials. (Terms & Conditions apply)
Have
you
seen our TV commercials? Heard our radio campaign?
Sit back and watch us in
action!
Feedback
we recieve from clients.
You
can find our contact details and hours of business here.
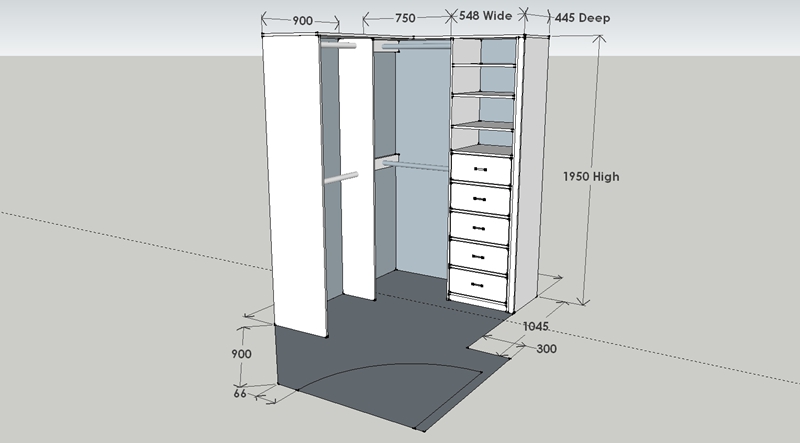
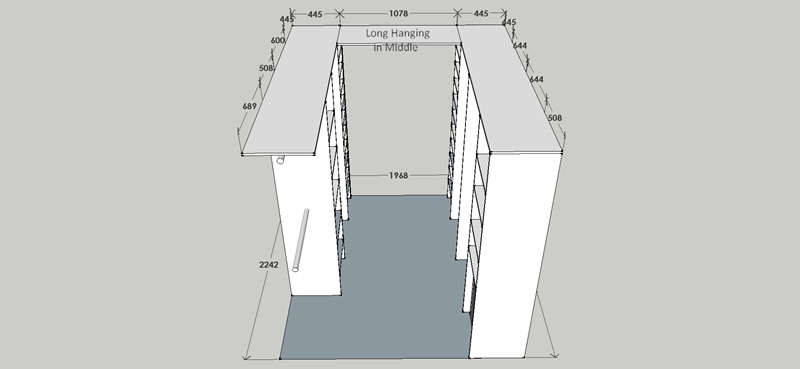
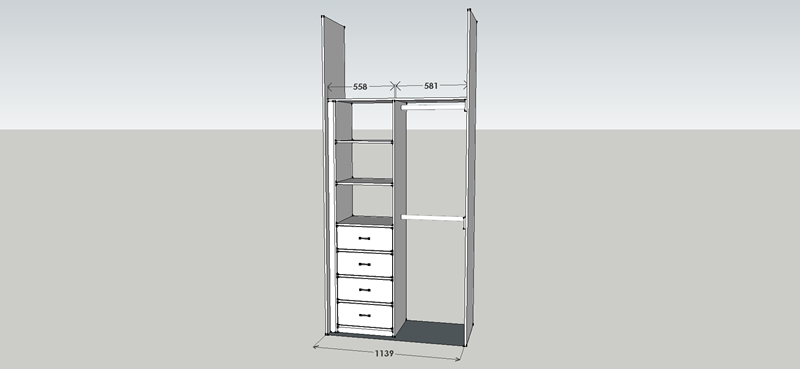
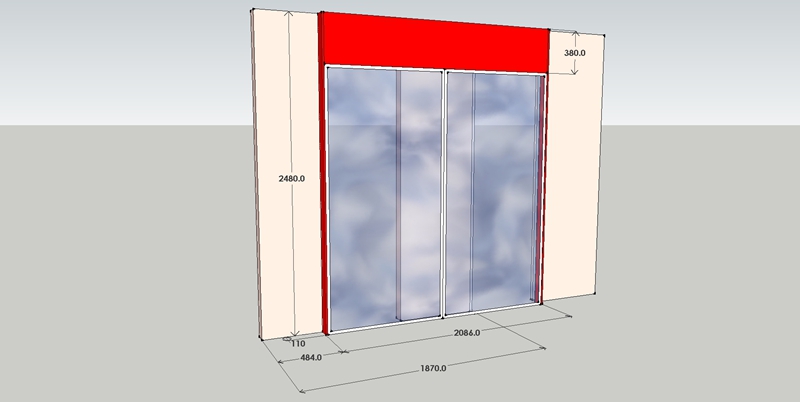
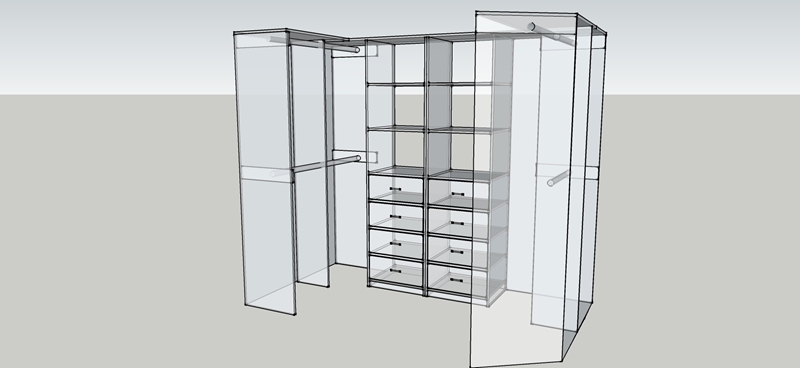
Our
sales representative will
visit your home and check
measure your new
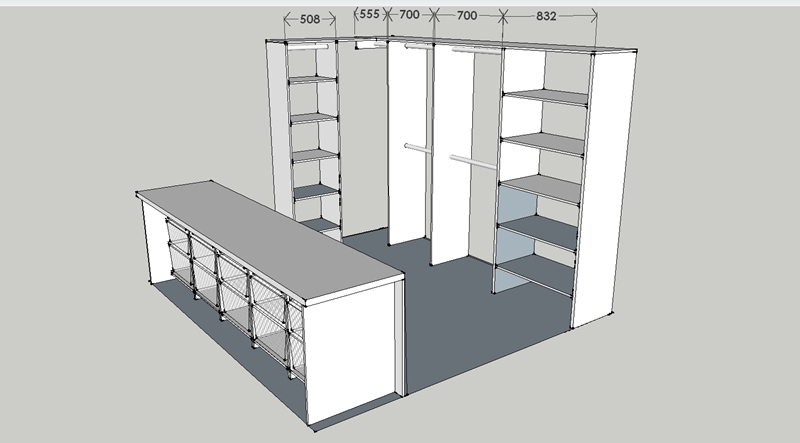
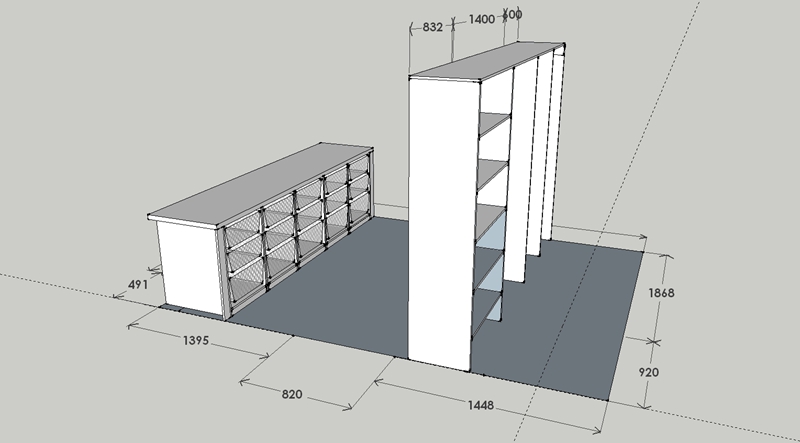
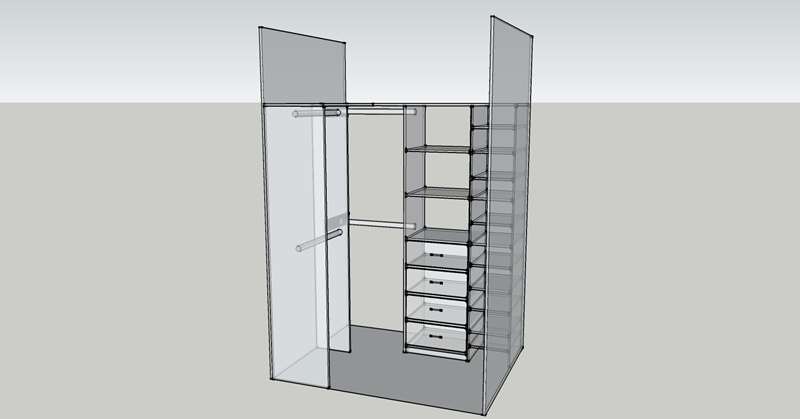
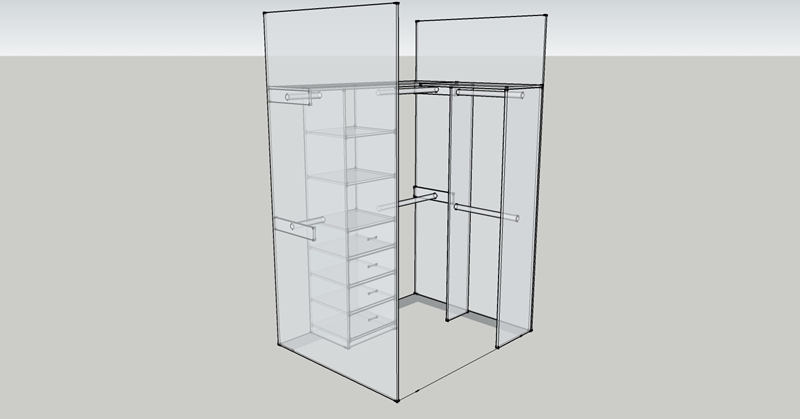
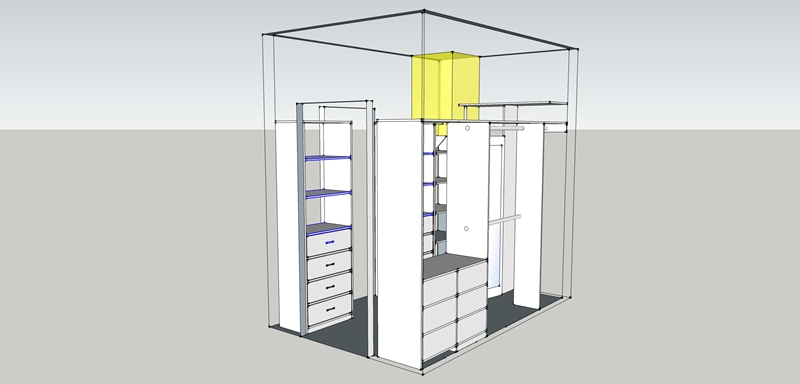
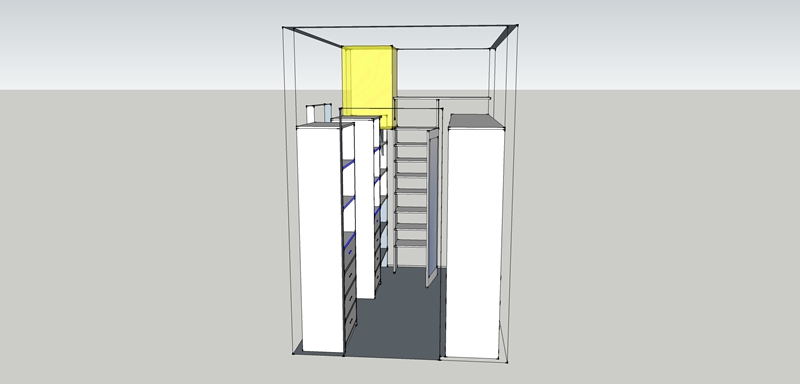
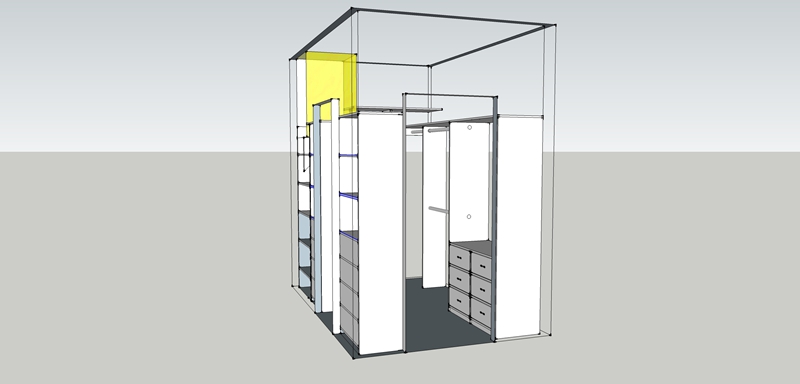
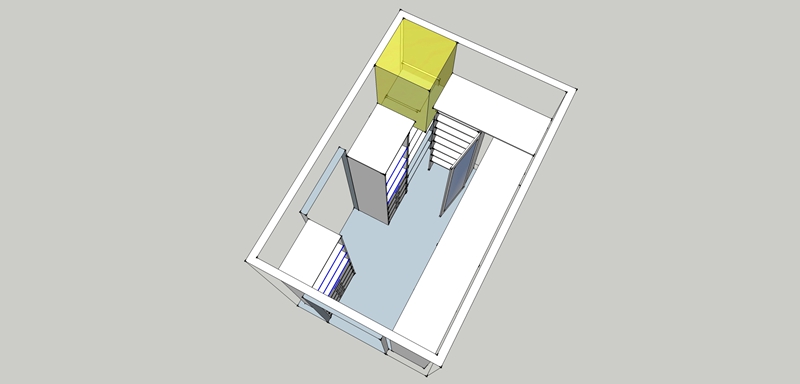
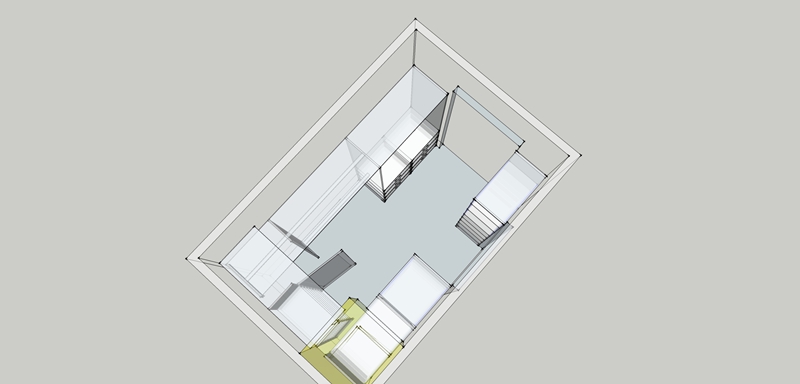
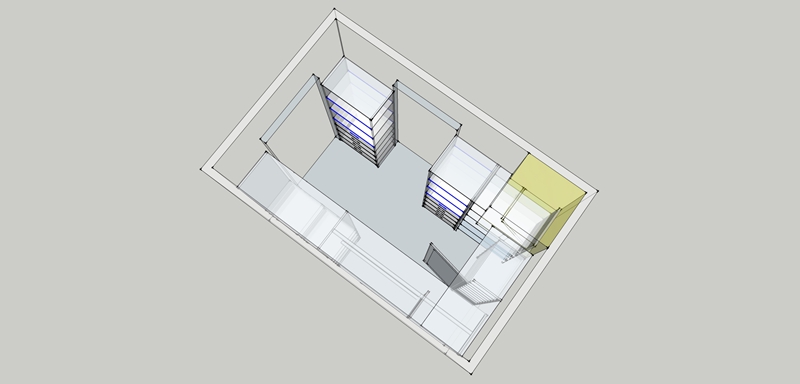
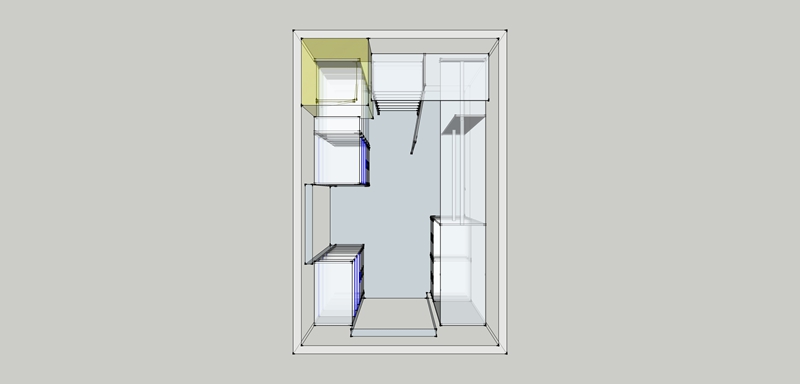
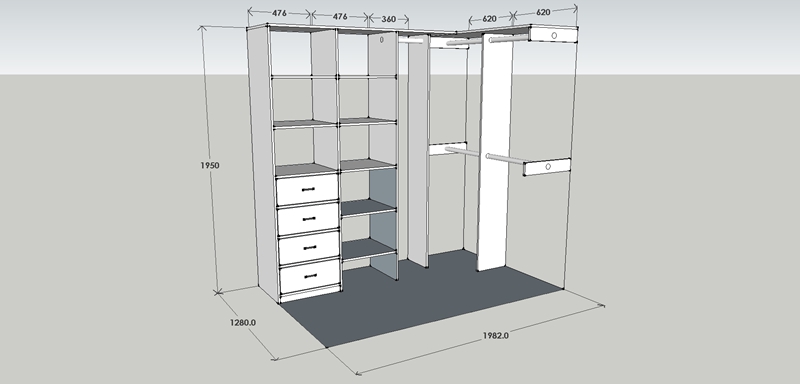
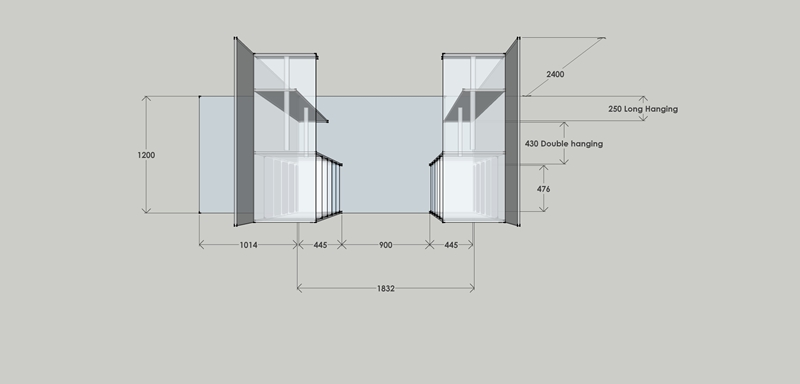
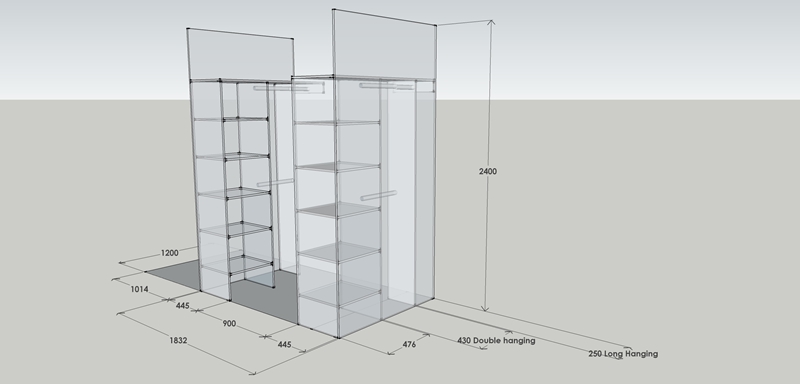
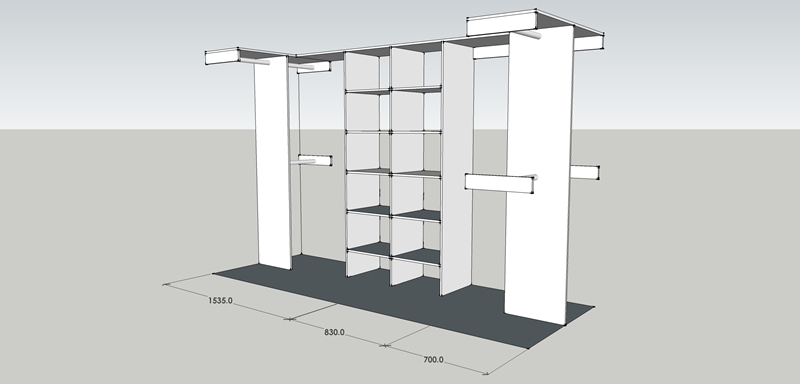
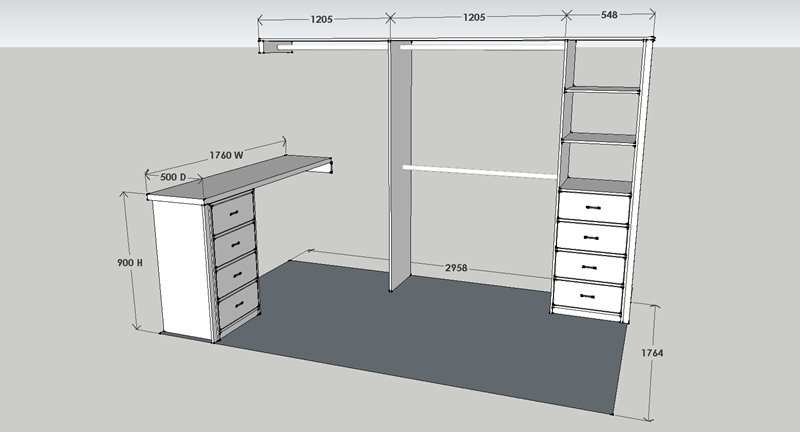
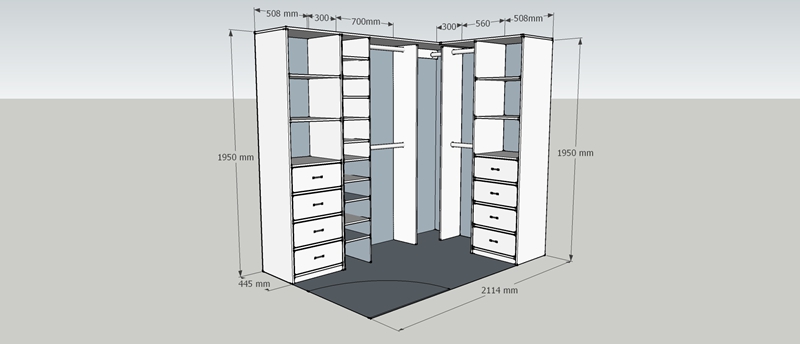
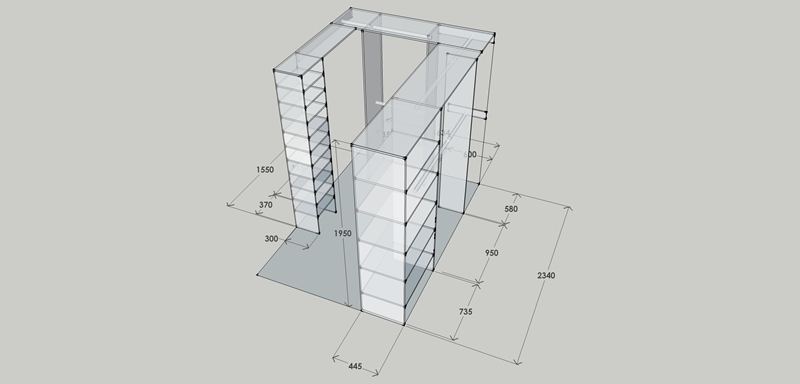
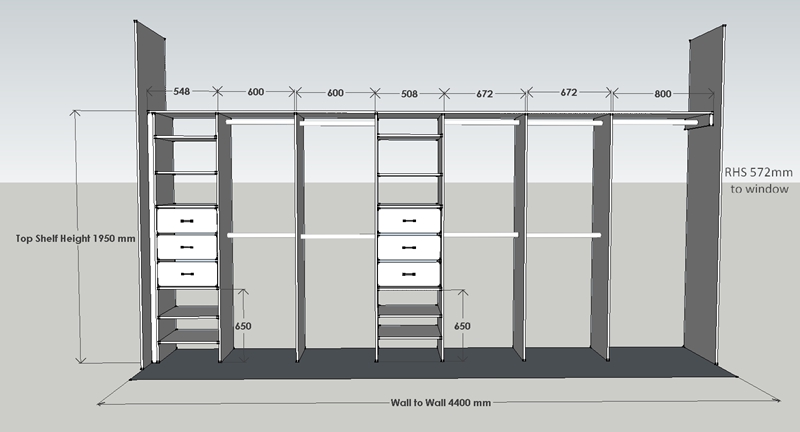
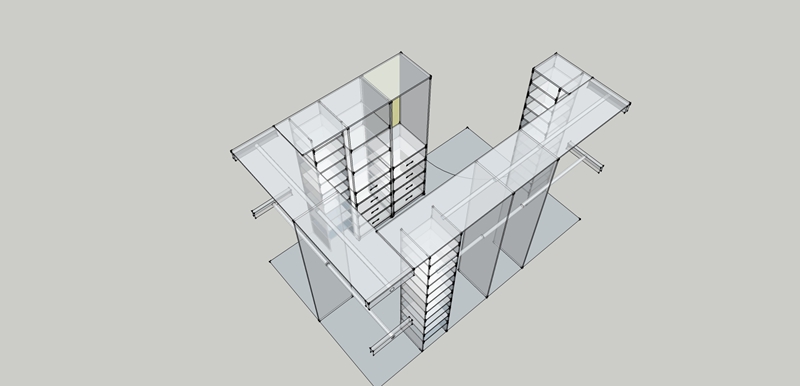
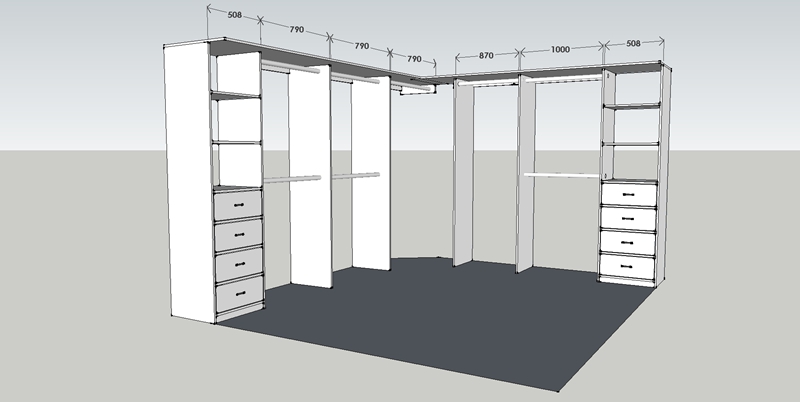
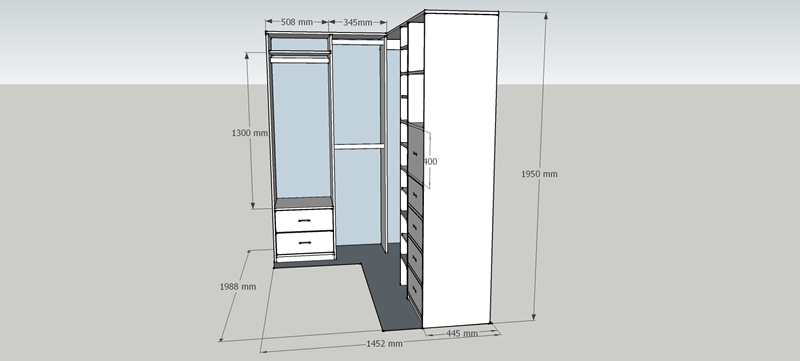
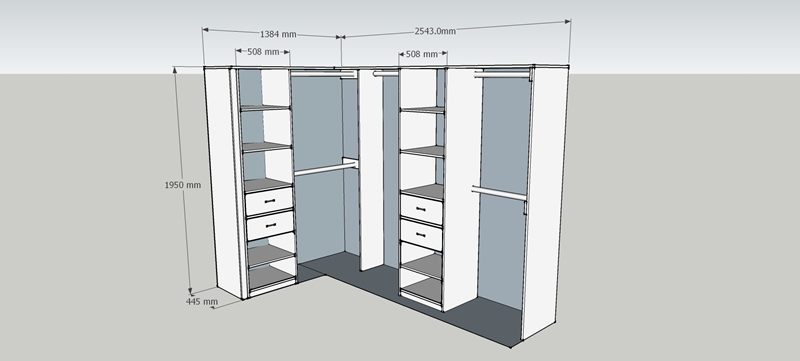
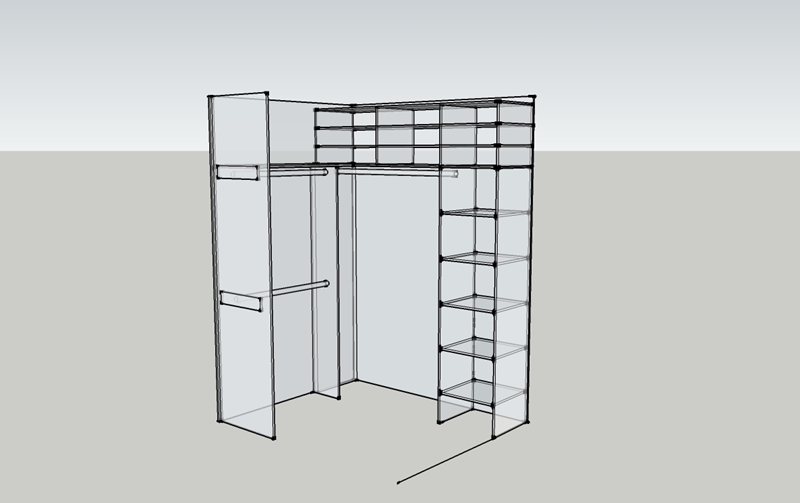
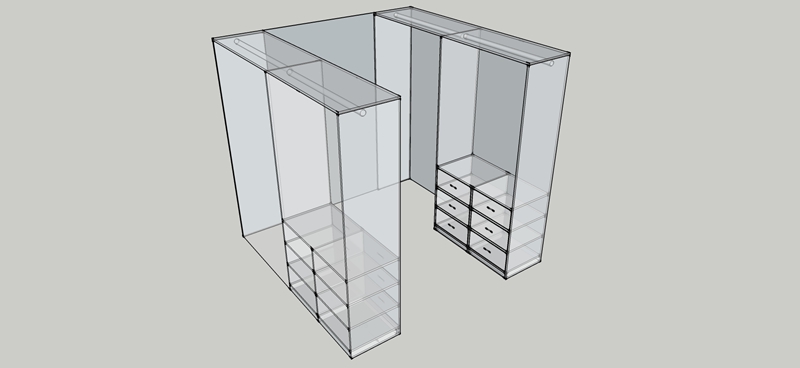
robe. They
will design your new robe in 3d
CAD format and email it to
you
along with the quote.
You
may find the answer right here.
Learn about the
people
behind BBIW
and our history.
Take Me Back To The Home
Page
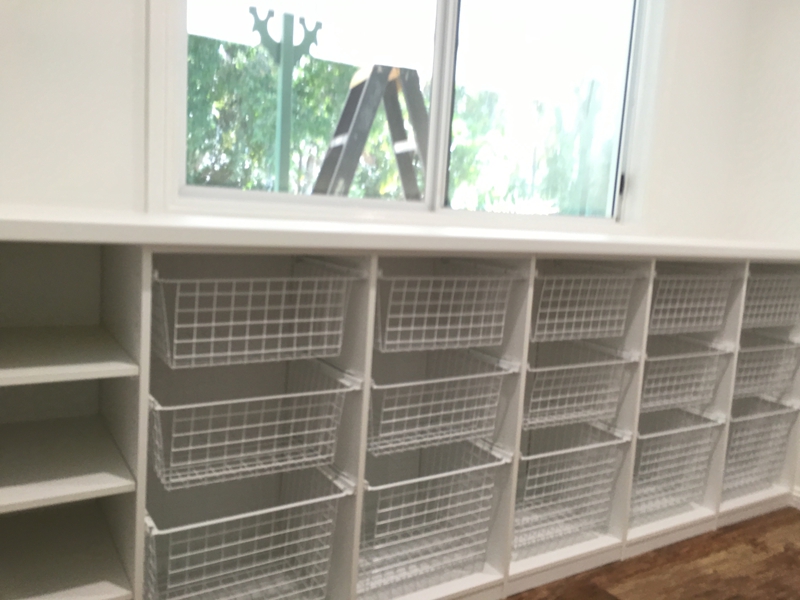
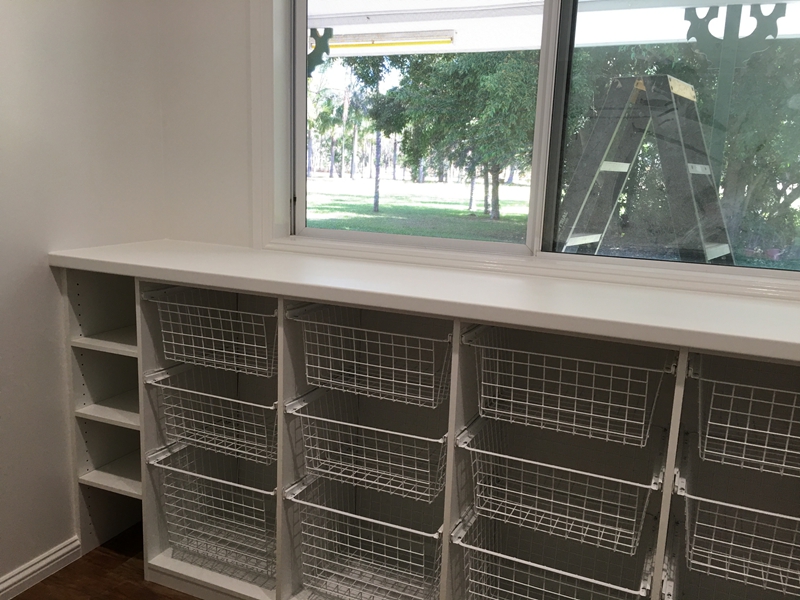
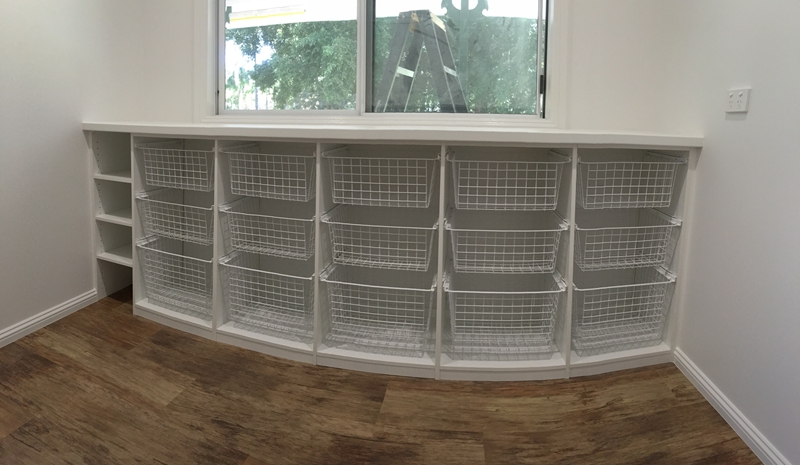
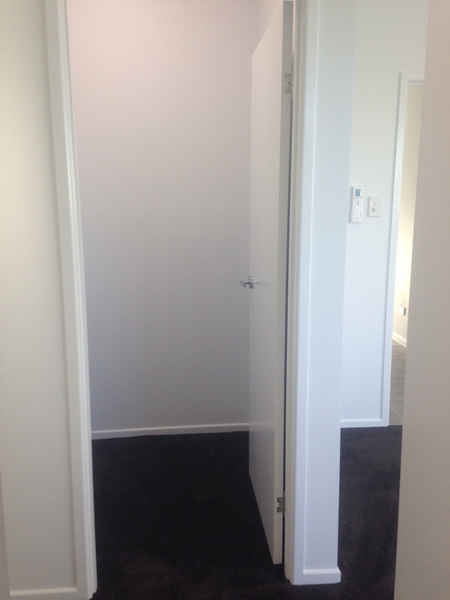
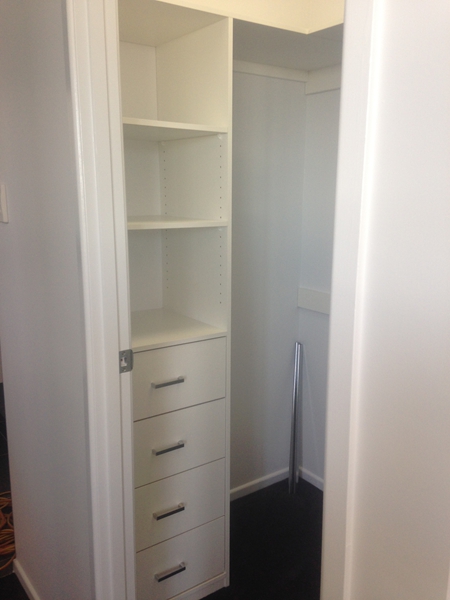
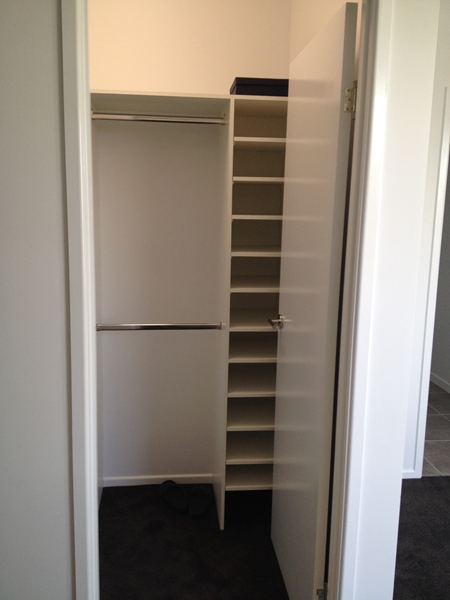
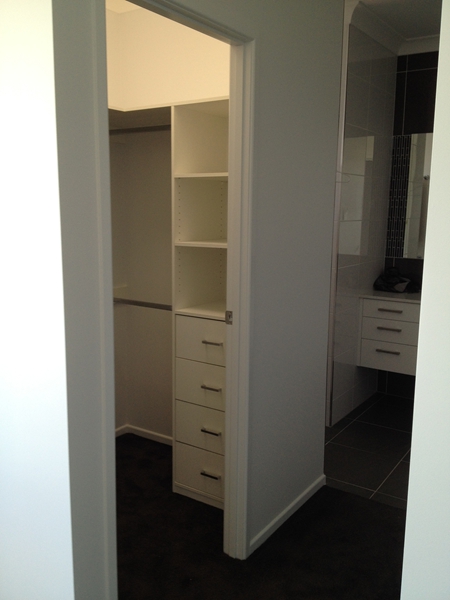
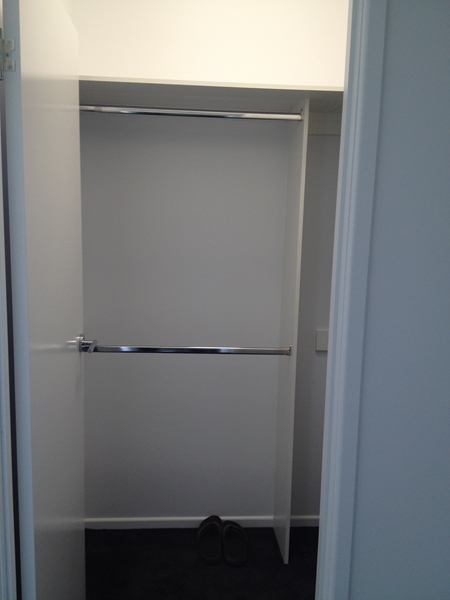
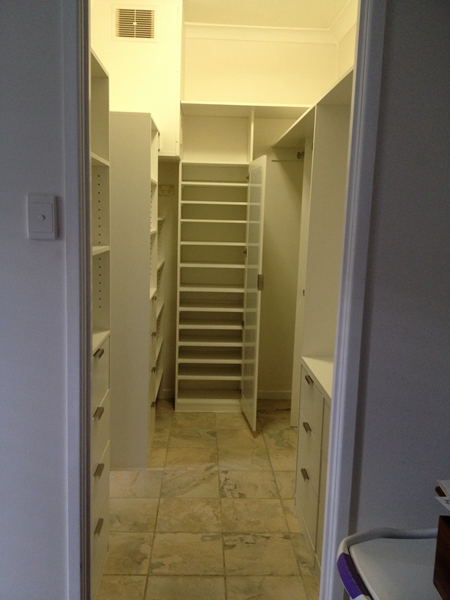
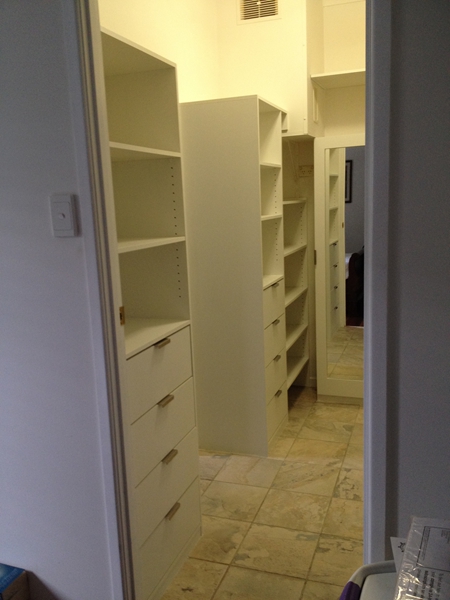
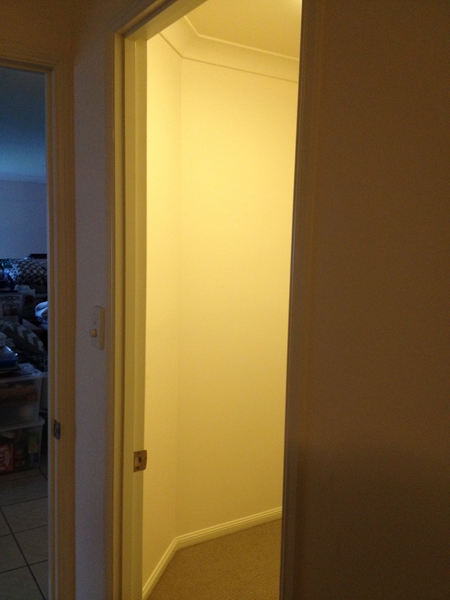
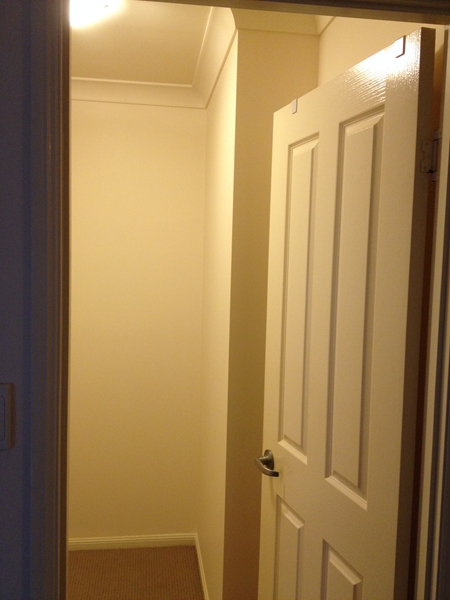
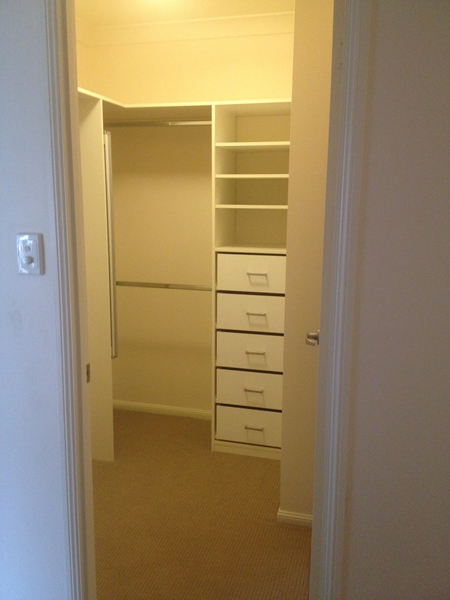
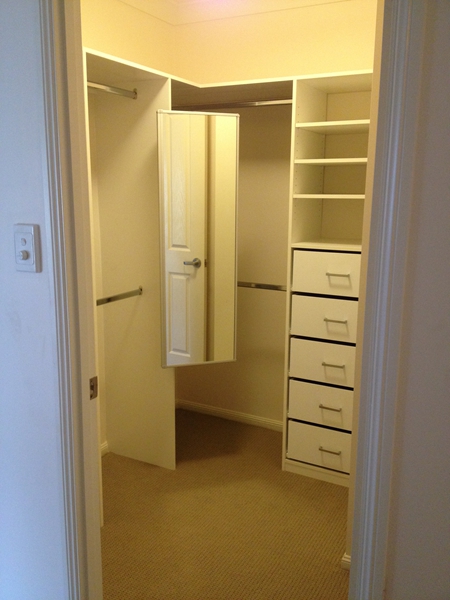
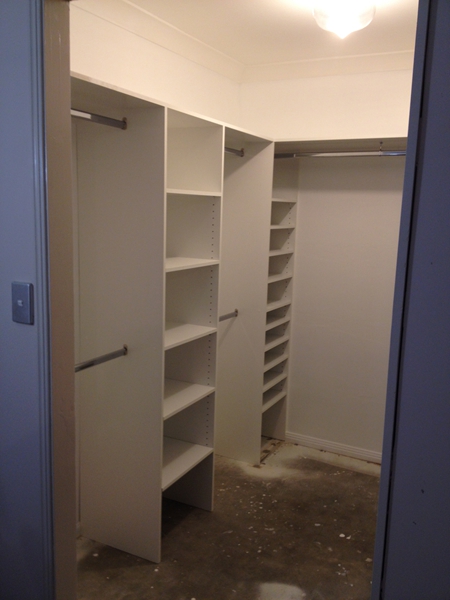
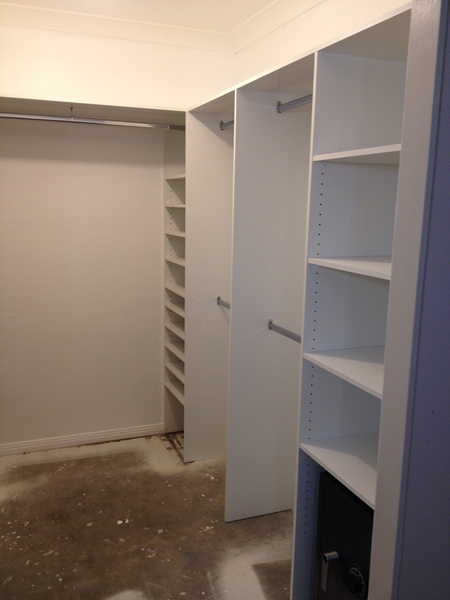
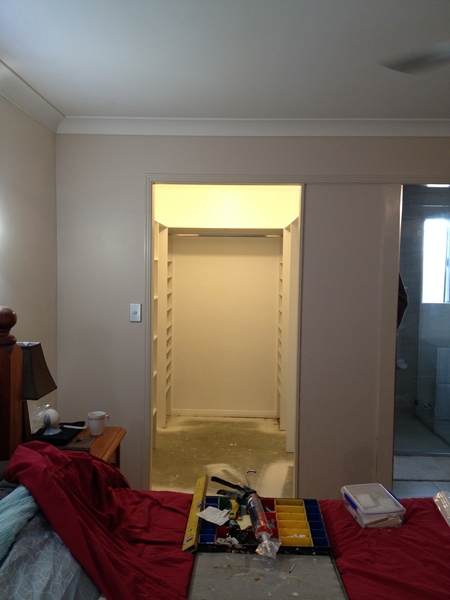
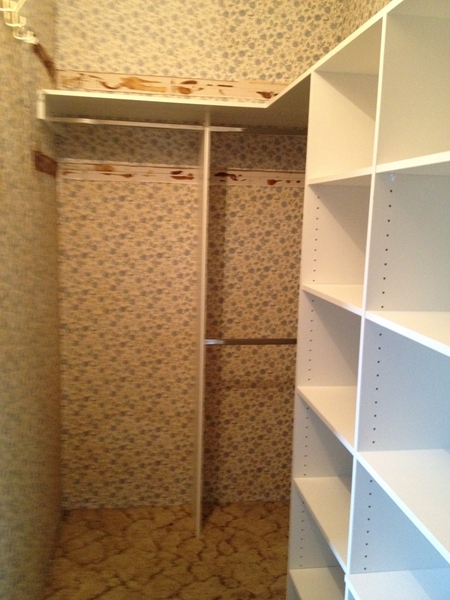
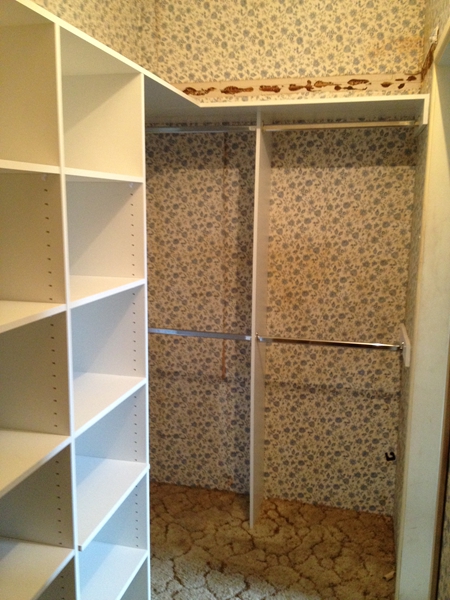
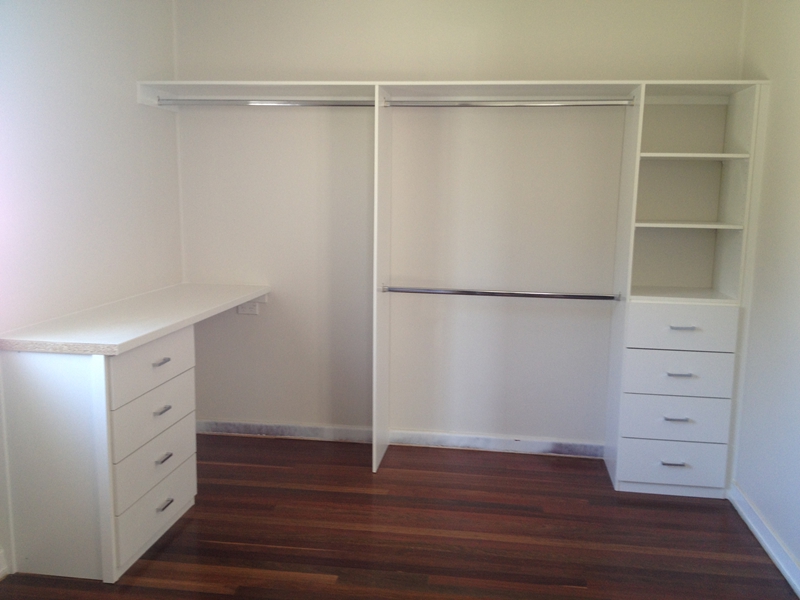
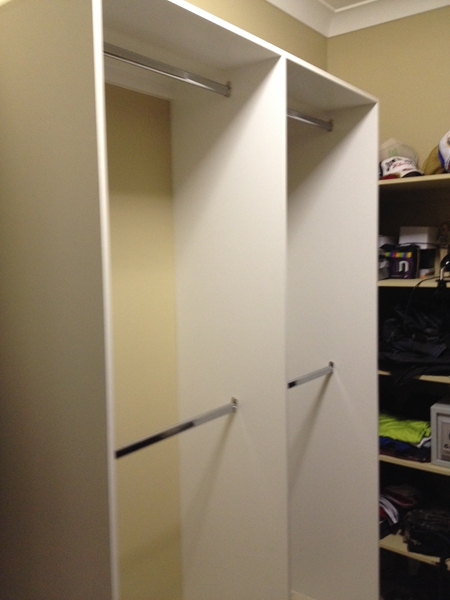
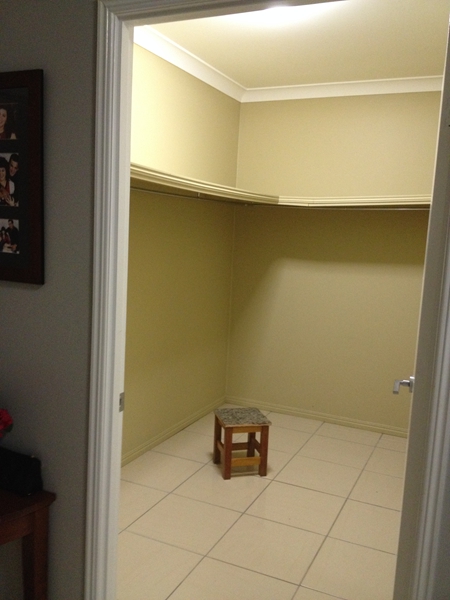
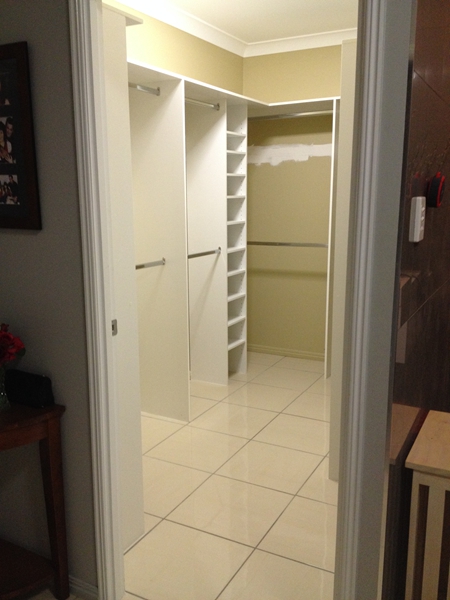
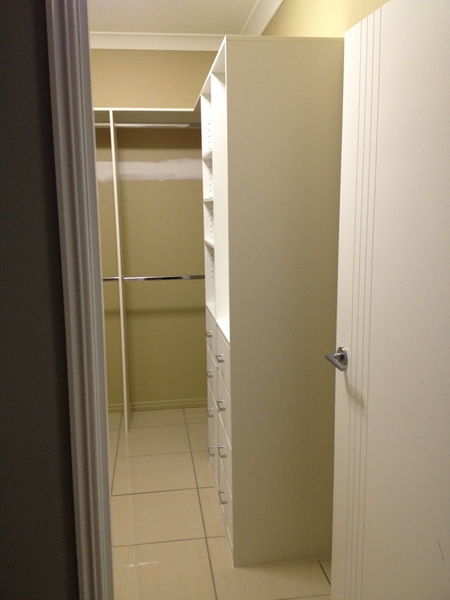
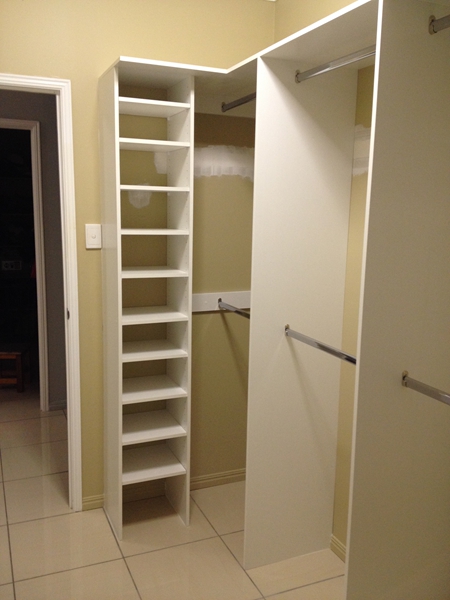
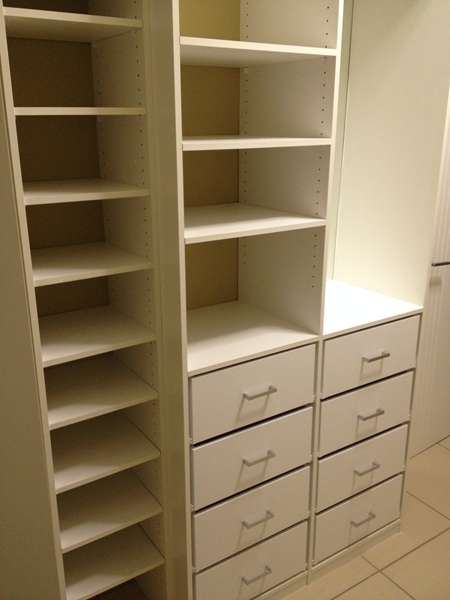
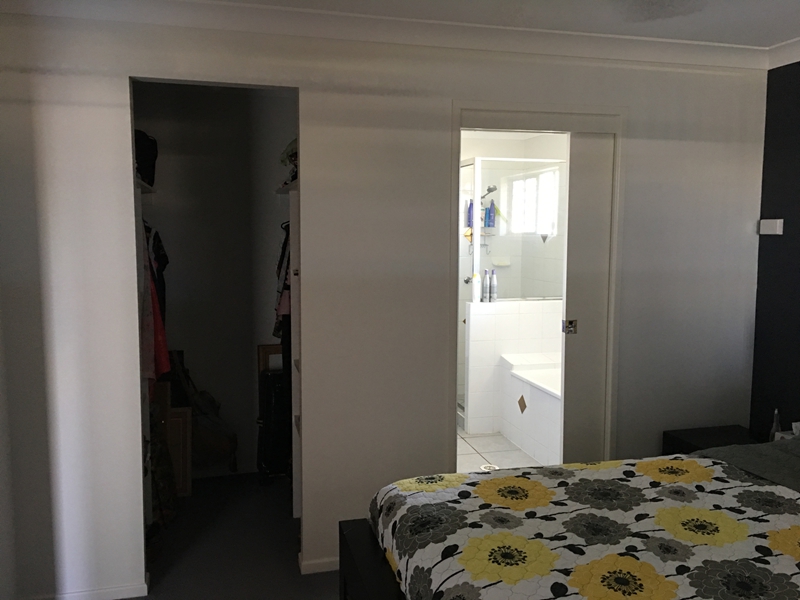
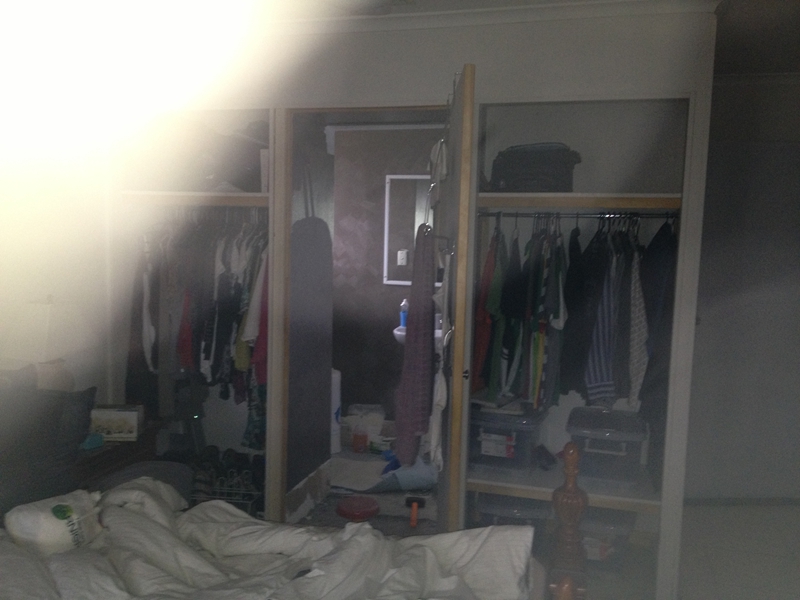
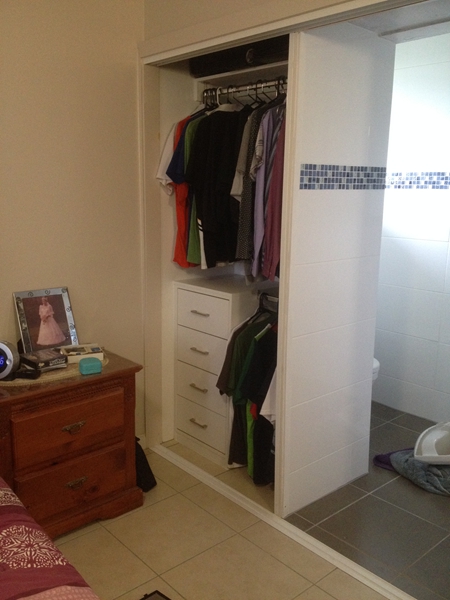
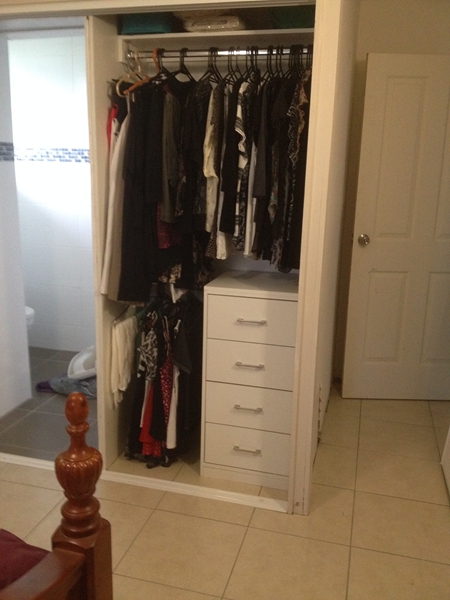
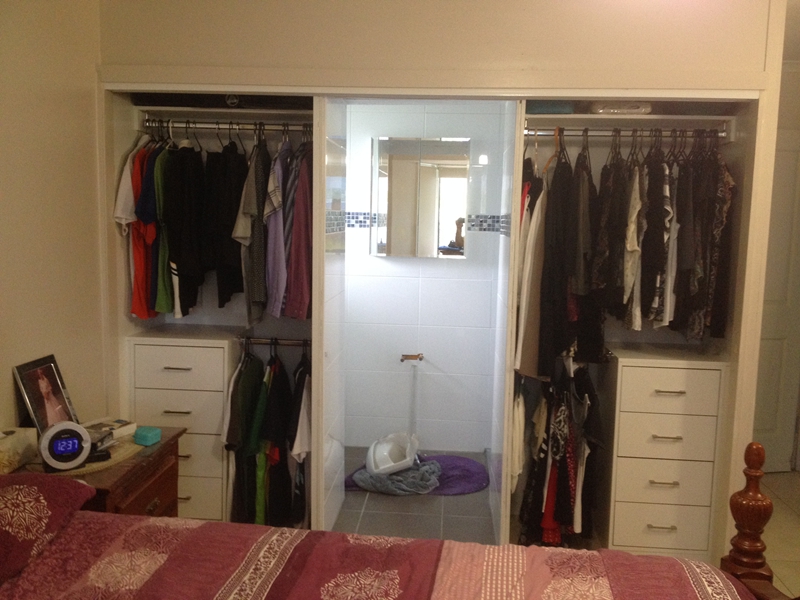
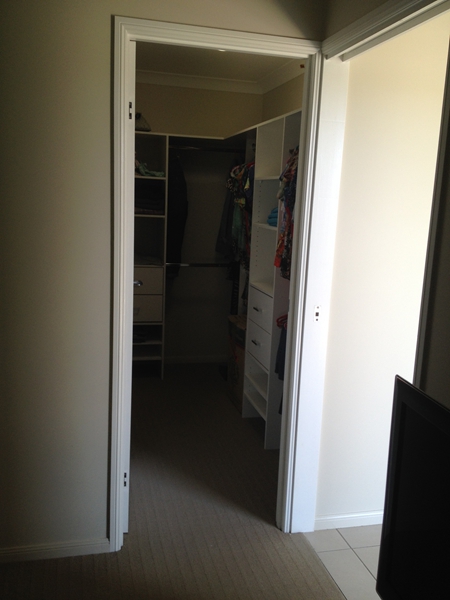
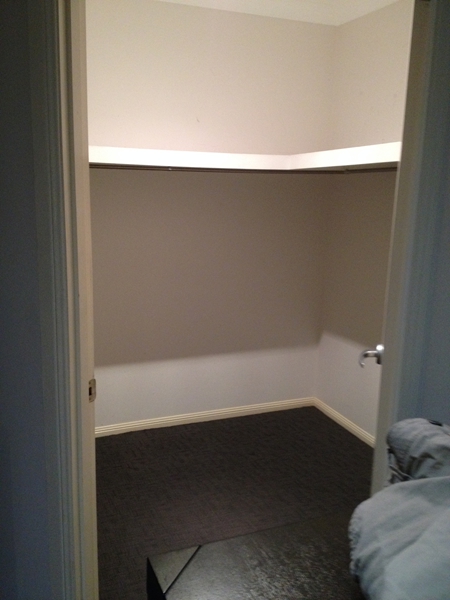
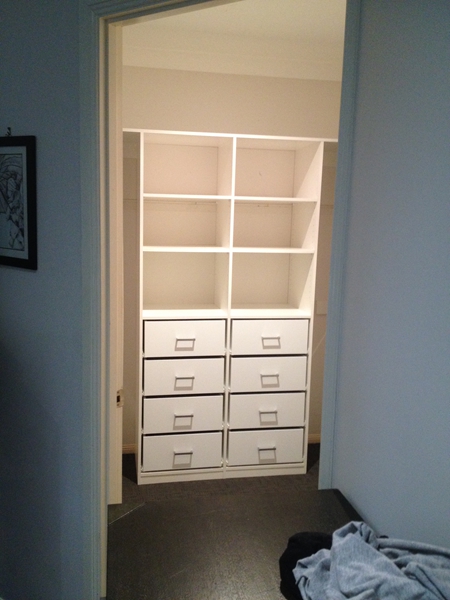
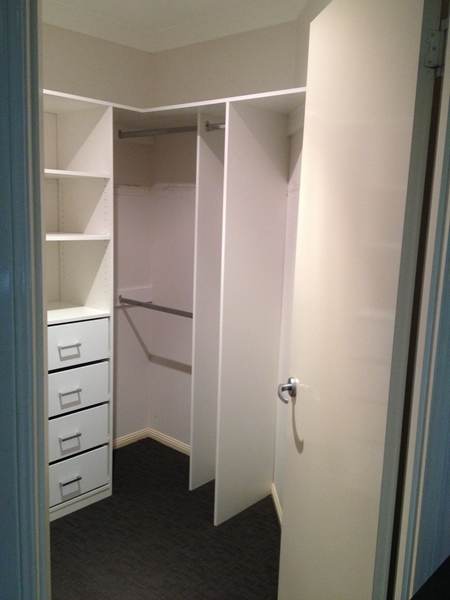
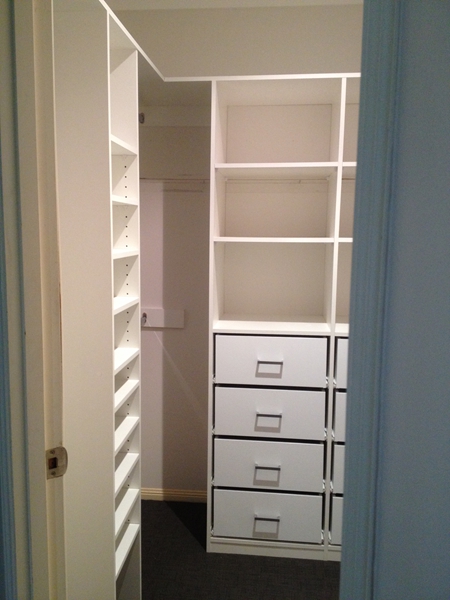
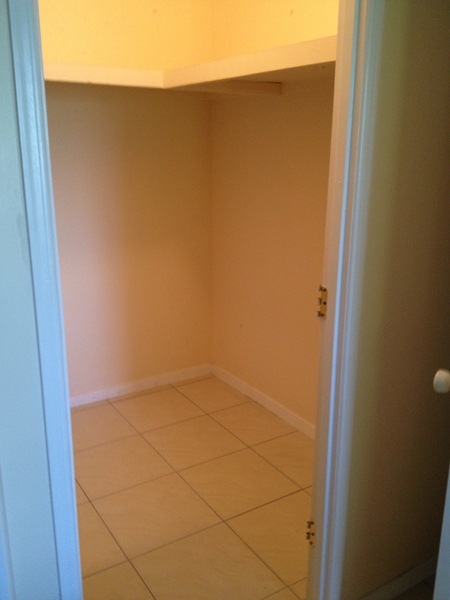
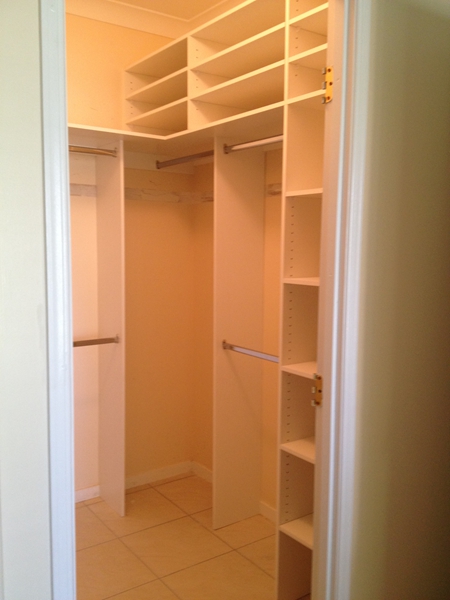
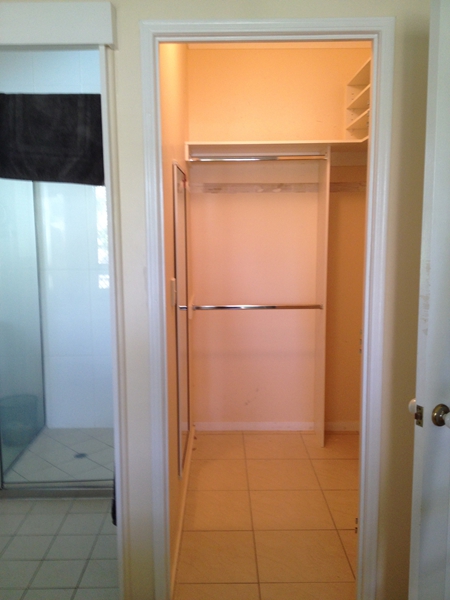
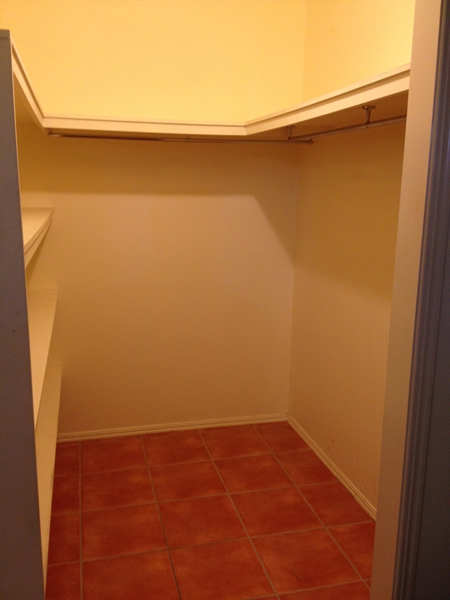
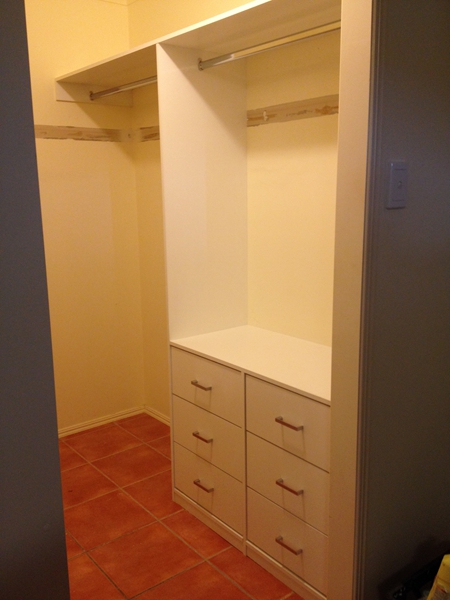
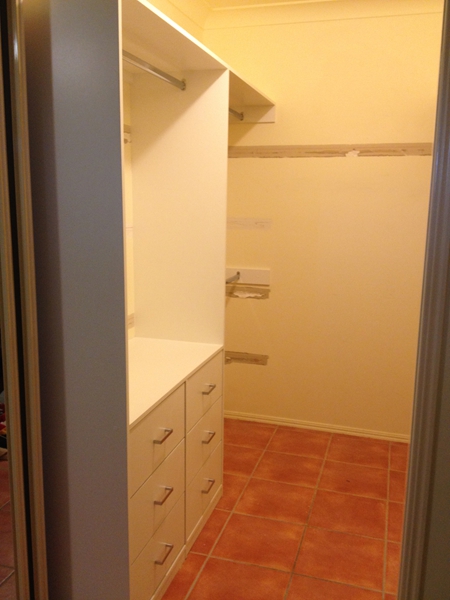
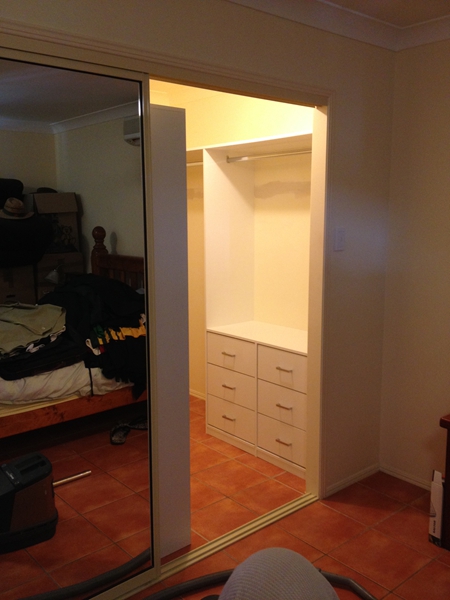
Grab a coffee and relax while viewing the extensive galleries.
Use the navigation buttons to control the slideshow.
You can even email us an image to enquire about it!
Certegy Payment Plans. Ask
our friendly consultant about a payment plan
to suit you. Get your dream wardrobe today.


 Read
about what materials we use and the general procedure we follow for
your built in robe.
Read
about what materials we use and the general procedure we follow for
your built in robe.
 See
the selection of colours we offer.
See
the selection of colours we offer.

 Have
you
seen our TV commercials?
Have
you
seen our TV commercials? Heard our radio campaign?
 You
can find our contact details and hours of business here.
You
can find our contact details and hours of business here.

 You
may find the answer right here.
You
may find the answer right here.